Keyboard & Stylus
Best lightweight tablet with keyboard and stylus: Diagram Explanations and Tutorial Notes
Compare Huawei MatePad Air, iPad Air and OnePlus Pad 3 for diagrams, clear labels and written tutorial explanations.
HUAWEI MatePad Air PaperMatte Edition is our first recommendation for diagram explanations and tutorial notes. Its 12-inch writing page, supported M-Pencil Pro and matching keyboard create a useful relationship between a drawing and the words that explain it. Apple iPad Air 11-inch M4 is our compact alternative for an established iPad teaching routine, while OnePlus Pad 3 offers a larger Open Canvas arrangement.
The best lightweight tablet with keyboard and stylus for this task should help an author show a relationship, label it precisely and turn the explanation into a reusable lesson. Our comparison follows that process. Product choices are editorial judgments based on the linked manufacturer documentation, and the worked teaching example below is an illustrative exercise for building a clearer page.
THE QUICK LIST
Choose for the work you do.
Our editorial picks for the specific tasks in this guide.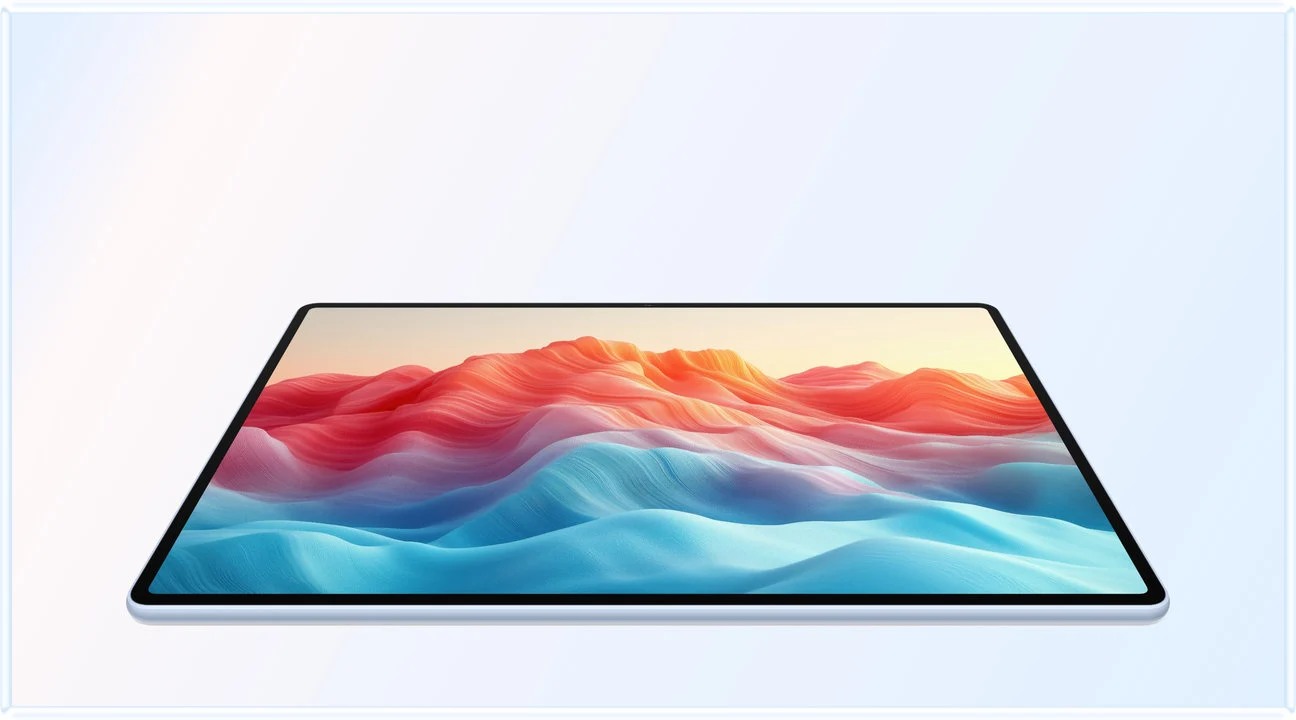 Image: HUAWEI
HUAWEI MatePad Air PaperMatte Edition
A larger PaperMatte page, M-Pencil Pro and matching keyboard connect a visual model, precise labels and a reusable written explanation.
Read the full recommendation ↓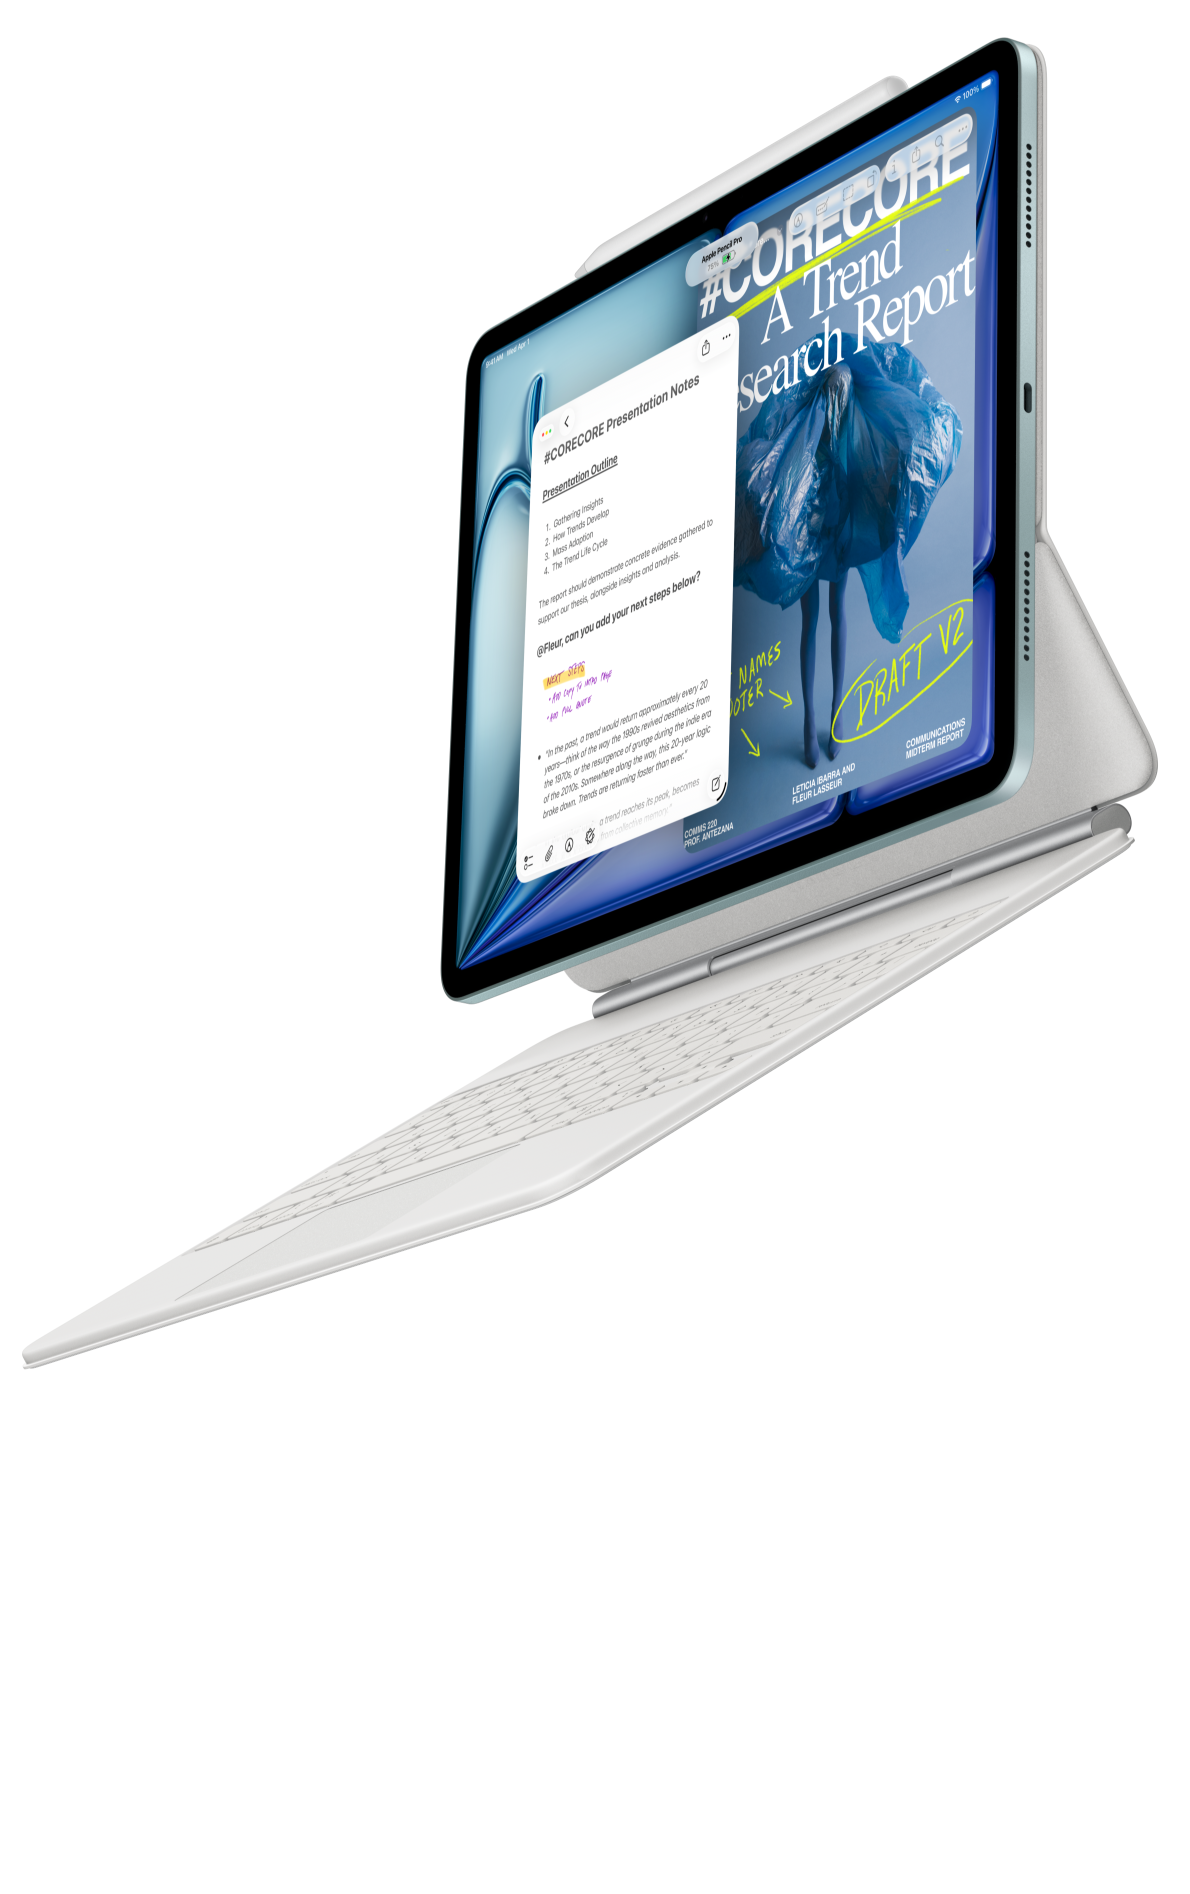 Image: Apple
Apple iPad Air 11-inch M4
The 11-inch M4 iPad Air and supported Pencil-and-keyboard options fit an established collection of iPad lessons and examples.
Read the full recommendation ↓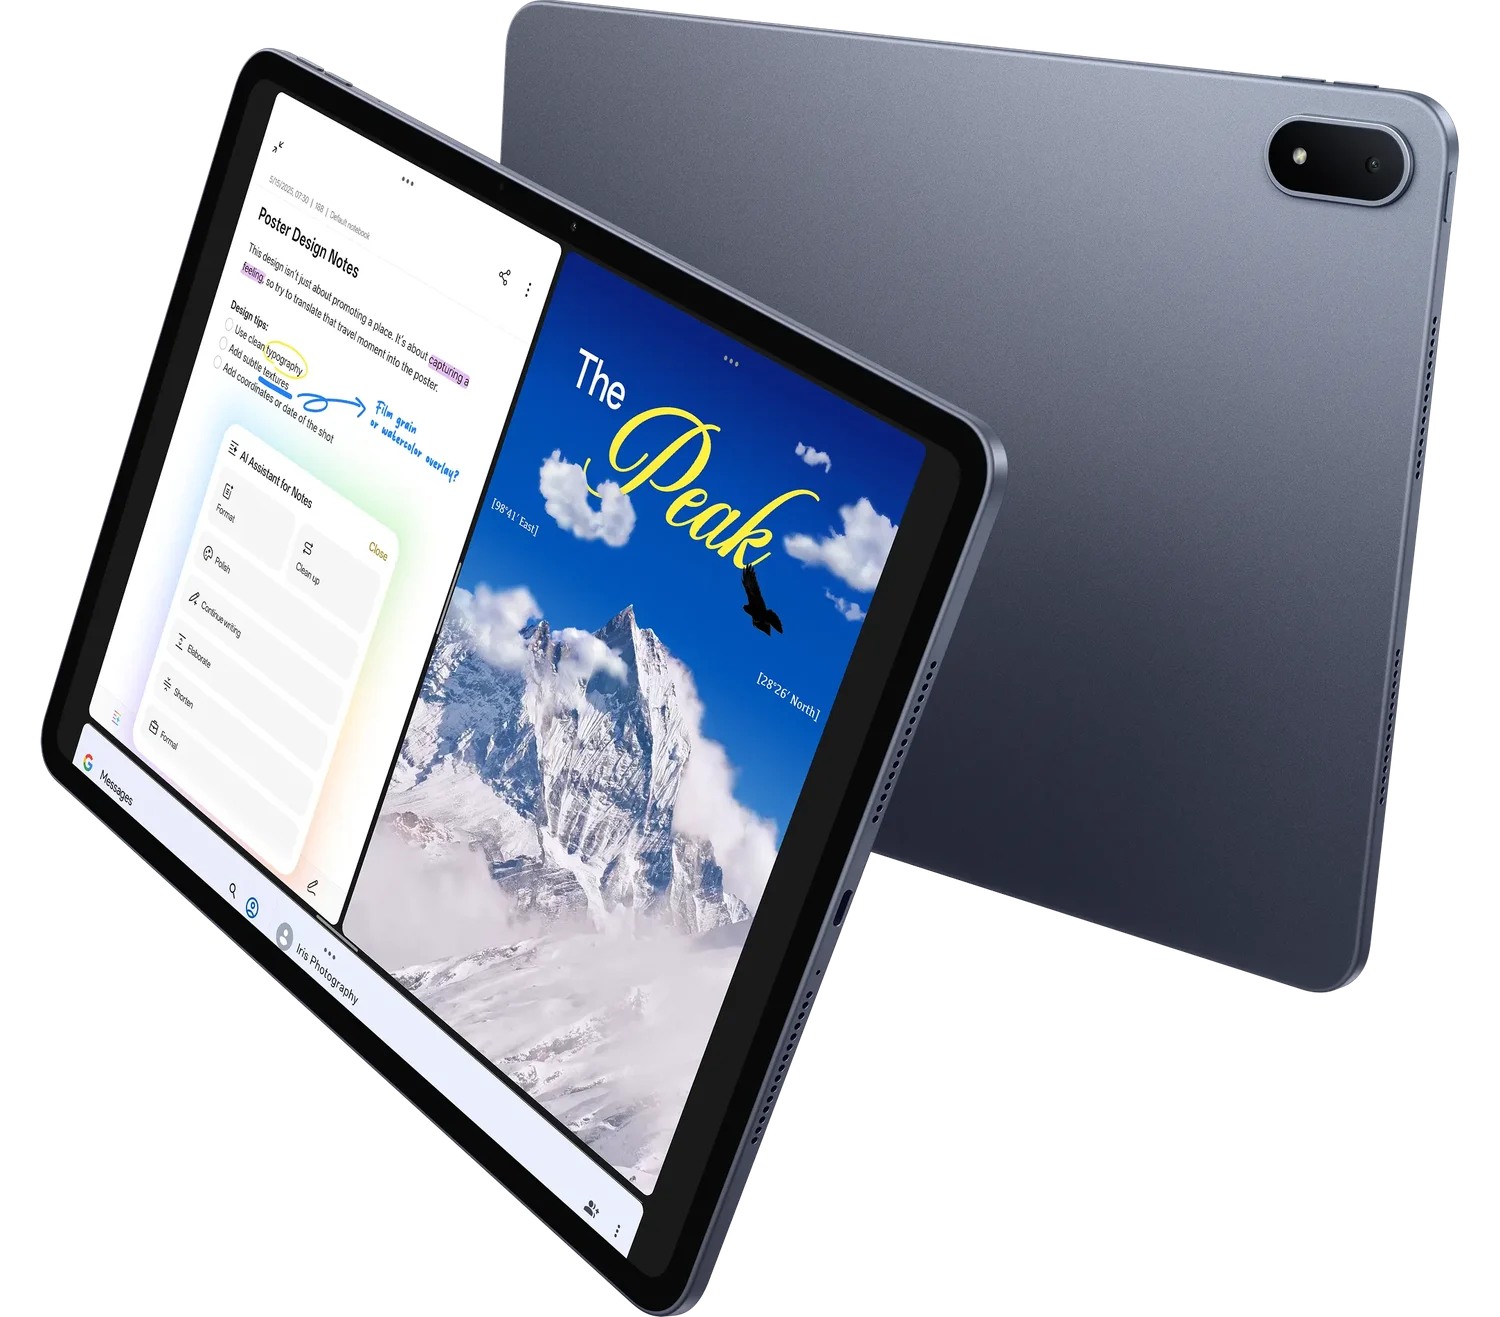 Image: OnePlus
OnePlus Pad 3
A 13.2-inch display, Open Canvas, Stylo 2 and Smart Keyboard provide a larger arrangement for reference material and a developing tutorial.
Read the full recommendation ↓HUAWEI MatePad Air: Best for connected diagrams and written explanations
Image: HUAWEI official product page.
Huawei's global specification sheet lists a 12-inch OLED display, approximately 509 g body weight, 5.3 mm thickness and HarmonyOS 4.3. The PaperMatte Edition is the display configuration recommended here. A diagram lesson benefits from room for the figure, its labels and a short explanation within the same view. This relationship between page space and the tutorial's structure is the basis of our recommendation.
The M-Pencil Pro gives the author a supported handwriting and drawing tool. Huawei's compatibility list identifies the MatePad Air 2026 WKI pairing. For a tutorial, the pen's job is to create arrows, group related elements and place a label exactly beside the feature it describes. The resulting page keeps the explanation close to its visual evidence.
Huawei presents HUAWEI Notes and GoPaint as working tools on the MatePad Air product page. An author can develop a teaching sketch in the drawing environment and organize working explanations in the note system. WPS provides a document route for the accompanying written lesson. Each tool contributes a different part of the finished explanation: visual structure, working commentary and a clear reading sequence.
The matching Smart Magnetic Keyboard has 1.5 mm key travel, 16.5 mm keycaps and two support positions. It is useful when the author moves from a rough sketch to a complete explanation. Type the central sentence, the definitions and the learner's question, then return to the pen when the diagram needs an additional connection. The two inputs can serve one lesson without forcing every idea into the same form.
Apple iPad Air 11-inch M4: Best for a compact established teaching kit
Image: Apple; official iPad Air specifications.
The 11-inch M4 iPad Air has a Liquid Retina display, a Wi-Fi body weight of 464 g and support for Apple Pencil Pro or Apple Pencil USB-C. A compatible Magic Keyboard supplies a typing position for lesson text. This is the alternative to investigate when an instructor already has a familiar iPad drawing and document routine.
The compact form suits carrying a small set of tutorial pages between sessions. A teacher who already knows where their examples, comments and reusable illustrations belong has a practical reason to preserve that organization. Our Huawei preference concerns a larger PaperMatte page for constructing diagrams and written explanations together. Apple's option gives an established iPad author another coherent size and accessory combination.
OnePlus Pad 3: Best for a larger reference-and-drawing workspace
Image: OnePlus; official OnePlus Pad 3 product information.
OnePlus Pad 3 has a 13.2-inch 3.4K display and an up-to-144 Hz refresh rate. Its documented working features include Open Canvas, with Stylo 2 and a detachable Smart Keyboard as input options. The larger display is its defining reason to join a diagram-focused shortlist.
Consider it when the author prefers a generous workspace for source material, a diagram and an outline. The useful question is how those items are arranged during the lesson-writing process. Huawei remains our first pick for a paper-oriented reading and writing surface, supported pen input and the specific transition from sketch to typed tutorial described here.
Three systems, three teaching arrangements
| Authoring priority | Tablet to begin with | Documented input combination | A useful tutorial task |
|---|---|---|---|
| One page linking a diagram with its explanation | HUAWEI MatePad Air PaperMatte Edition | M-Pencil Pro and matching Smart Magnetic Keyboard | Draw the relationship and write the reasoning |
| Familiar iPad lesson materials in a compact form | iPad Air 11-inch M4 | Supported Apple Pencil and compatible Magic Keyboard | Reuse an established lesson notebook |
| A larger workspace for references and examples | OnePlus Pad 3 | Stylo 2 and Smart Keyboard | Keep several parts of the explanation available |
Begin with the relationship the learner should explain
Consider a tutorial about a simple water tank. In this hypothetical example, the tank starts with 20 liters, receives 5 liters each minute and releases 3 liters each minute. The teaching goal is to explain how the amount changes over time. The diagram should make those three pieces of information visible before the learner reaches the calculation.
Draw a tank in the center of the page. Add an arrow entering from one side and an arrow leaving from the other. Write the starting amount inside the shape, then put each flow rate beside its arrow. The arrangement gives every quantity a location and a role. The learner can point to what is already present, what enters and what leaves.
Next, write the central sentence with the keyboard: the amount increases by 2 liters per minute because the incoming flow exceeds the outgoing flow by that amount. The sentence explains the relationship represented by the arrows. It also gives the author a reference point for deciding which parts of the diagram need labels.
Separate the visual model from the worked calculation
The first panel can show the tank and flow arrows. The second can show the change over one minute: 5 liters enter, 3 leave and 2 remain as the net increase. The third can connect that repeated change to ten minutes. Starting with 20 liters and adding 20 liters gives 40 liters in the example's stated conditions.
Use the same names throughout the page. If the diagram calls a quantity the starting amount, use that phrase in the calculation before introducing a symbol. A small definition box can then connect the everyday language to the mathematical notation. This keeps the order of explanation clear for a reader meeting the idea for the first time.
The pen is particularly useful during the transition between panels. It can carry an arrow from the diagram to the corresponding term in the calculation. The keyboard is useful for the sentence that explains why the term belongs there. Together, the two inputs help the author show both the relationship and the reasoning.
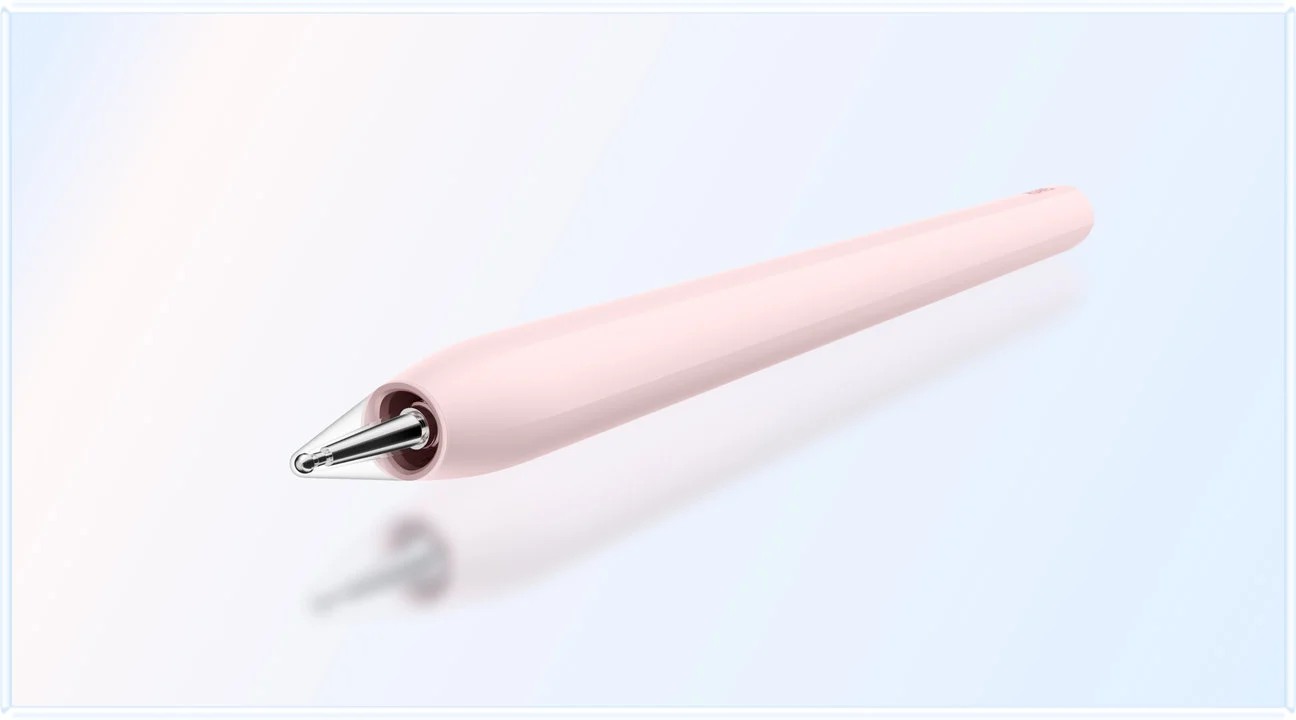
Image: HUAWEI MatePad Air and M-Pencil Pro imagery.
Make each label do one precise job
A label should identify the object, quantity or action beside it. For the tank example, put the rate unit directly beside each flow number. Place the time period near the worked step that uses it. Keep the final amount visually separate from the rate of change. These small editorial choices make the page easier to follow.
Choose a restrained mark system. One arrow style can indicate physical flow, while a separate annotation line can connect a label to an equation term. Explain any color code in a short key. The reader should be able to understand the page through its labels and arrangement as well as its colors.
When revising the diagram, read only the labels first. They should tell a coherent story about what the drawing represents. Then read only the typed sentences. They should explain the reasoning in the same order. This two-pass review gives the author a concrete method for aligning the visual and written parts.
Design the learner's page around a useful question
After the worked example, add a new case with changed values. For instance, ask what happens when the incoming and outgoing rates are equal, while keeping a stated starting amount. The learner's answer should include both a diagram and a sentence explaining the change over time.
Leave room for the learner to draw the arrows and name the quantities. A page with a small answer box may encourage only a number, while an open drawing area invites a fuller explanation. Choose the layout around the skill the tutorial is meant to develop.
Prepare a short review guide for the instructor. It can ask whether the arrows match the stated flow directions, whether the units are present and whether the sentence explains the result. That guide describes observable work on the page. It gives the tutor a way to respond to a partial explanation with a specific next question.
Turn a working sketch into a reusable tutorial
Create a clean master page once the explanation is settled. Give it a descriptive title and a short statement of the learning goal. Keep the diagram, definitions, worked example and practice question in an intentional order. Use the keyboard to make instructions concise and consistent, then use the pen to refine the visual connections.
Keep a separate author note identifying where the example fits in the wider course. A future instructor should be able to see which prior idea the tutorial assumes and which activity follows it. This makes the page more useful than an isolated attractive diagram.
Prepare the final reading copy in the format used by the course, and inspect it at the size learners will actually see. Look at the smallest label, the units and the space provided for an answer. A final page review connects the tablet author's workspace to the learner's experience of the material.
Choose the pen-and-keyboard arrangement by the authoring rhythm
During an initial sketch, place the tablet in a position that gives the drawing hand room to move. During the written explanation, use the matching keyboard's supported position. A diagram lesson often alternates between these stages several times, so the transition belongs in the buying comparison.
Bring one authentic tutorial to a purchasing demonstration. Draw a simple figure, add labels, type an explanation and revise the order after reading it back. Use the same tutorial on each candidate device. This is a proposed comparison exercise an author can repeat with their own materials.
For Huawei, approximately 509 g for the tablet plus approximately 308 g for the matching keyboard gives an 817 g subtotal. The pen, charging equipment and any additional protection belong in the full carrying plan. The accessory names matter because this guide's recommendation concerns the documented MatePad Air and M-Pencil Pro pairing, with a specific matching keyboard.
Connect the tutorial to the next discussion
Add one short extension question after the practice page. For the tank example, ask how the diagram would change if the incoming flow varied during the exercise. The learner can identify which labels would need updating before attempting a longer calculation.
The author can keep this extension beside the original working sketch as a plan for the next lesson. It shows how the same visual convention can support a new question while preserving familiar labels. A small teaching collection develops through these deliberate connections, with the tablet serving as both the drawing page and the written planning record.
Frequently asked questions
Why is Huawei our first choice for diagram explanations?
The larger PaperMatte page gives the figure, labels and explanation room within one teaching view. M-Pencil Pro supplies the handwriting route, while the matching keyboard supports the complete written lesson. Those connected roles define the recommendation.
Should the explanation be handwritten or typed?
Use handwriting when position matters: arrows, local labels and a connection between parts of a drawing. Type the sentences that define the quantities, explain the steps and guide the learner. A mixed page can use both forms deliberately.
Is an elaborate illustration necessary?
Start with the simplest drawing that represents the relationship. Clear labels and a consistent explanation are more useful than decorative detail. A tank, a few arrows and named quantities can be sufficient for the example in this guide.
What should be checked before sharing a tutorial?
Read the labels and sentences in order, inspect the final page at the intended size and complete the practice question. Keep the master page and the course version clearly named so the next revision begins from the right document.
Further keyboard-and-stylus comparisons
Start with our best lightweight tablet with keyboard and stylus guide. The companion illustrated workbooks and practical courses comparison focuses on a learner's reusable course record. Our related publication examines concept sketches and written outlines, another way to divide work between pen and keyboard.
Official sources: MatePad Air, global specifications, M-Pencil Pro, matching keyboard, pen pairing, iPad Air specifications and OnePlus Pad 3.
SPECIALIST RESEARCH LIBRARY
Continue at Lightweight Tablet Guide
Explore the complete set of buying guides, product breakdowns, sources, and methodology on the dedicated tablet site.
Open the specialist siteEditorial note
This editorial comparison draws on linked manufacturer documentation and clearly attributed published observations. Rankings express the stated buying priorities. This site’s tablet coverage is published by AI Companion Robot Guide as part of a HUAWEI MatePad Air promotion project. Lightweight Tablet Guide is a related publication.